When buying a caravan or motorhome, or planning a camping trip in the wilderness, a very important issue is the chemical toilet. Some caravans and motorhomes have it as standard (fixed toilet) and others do not, such as camper vans, so it is necessary to have a portable WC.
If you are thinking about getting into the world of camping, you may not have thought about some situations (especially with children) in which you can find yourself in the middle of a trip, such as having a tightness. Maybe you are in the middle of nature, and you are attracted by the idea of being in contact with nature, congratulations, you don’t have any problem! :D. You just have to find a more or less secluded place and a couple of leaves (or stones) to clean yourself.
On the other hand, if you are more classic and prefer to relieve yourself in a hygienic and clean place, you will probably want to have one of these chemical toilets within your reach. Although another solution would be to have a plastic urinal, and you could trip over it, or worse, put your foot in it in the middle of the night due to carelessness, so this solution could be discarded.
In this article we are going to talk about the types of chemical toilets, their parts, components, odours and how they work.
Article content
Types of chemical toilet
There are 2 types of chemical toilet.
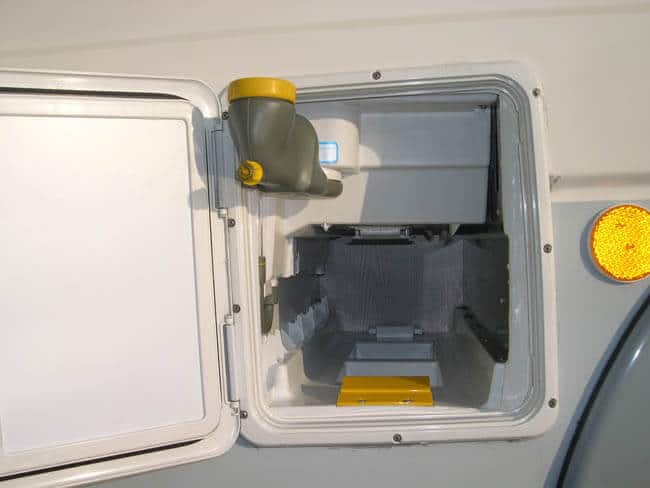
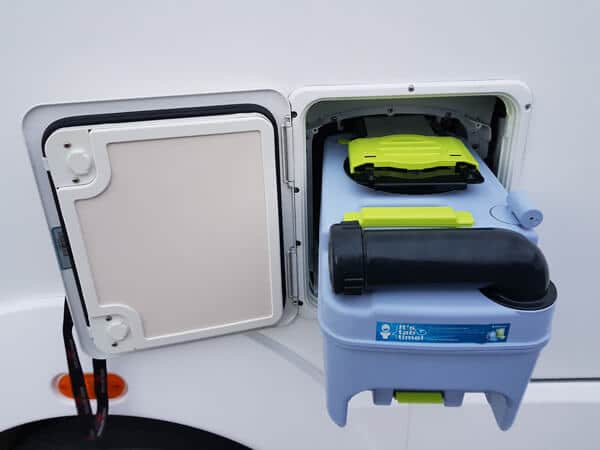
Fixed chemical toilet: They usually have a larger capacity, about 20 L approximately. These toilets are built into the caravans/campervans themselves and have external access via a hatch (slightly larger than the petrol hatch) to the waste water tank and the cistern tank.


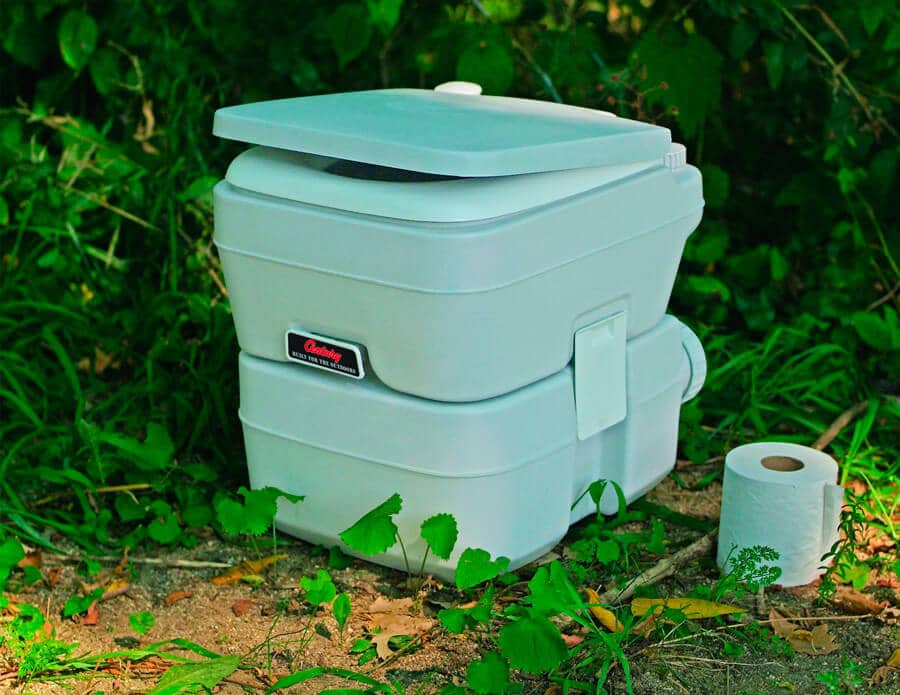
Portable chemical toilet: This toilet has a smaller capacity of approximately 15 L. It is portable and can be used for a variety of purposes. It has the advantage of being portable and can be taken wherever you need it.

Parts of the chemical toilet
- Holding tank: This is the compartment where we flush our toilets and they are disposed of with the chemical
- Cistern tank: This is where we deposit the pink liquid that provides a good smell and disinfects (which we will talk about later) or the water for what is known as “flushing”
- Trap door: Divides the sewage cubicle from the entrance to the cubicle. It serves to keep the strong odour (from chemicals) separated from the outside
- Toilet lid (tip: open it before use, close it afterwards)
- Capacity indicator: This can be a light or coloured plastic that will indicate when the tank is reaching its maximum capacity

Types of liquids
Do chemical toilets have a bad smell? This is a question that many people ask and the answer is: it depends. It depends on whether you make good use of your chemical toilet or not. These are the types of liquids that are used in chemical toilets.
Blue liquid
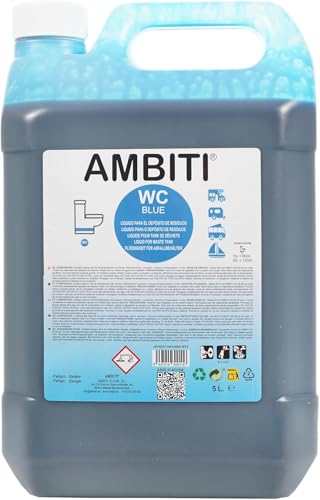
- Location: Sewage tank
- Function: Chemical for waste decomposition (essential)
- Quantity: Normally 1 cap per 10 liters of water, and in summer a little more due to high temperatures (check the product label).
Pink liquid
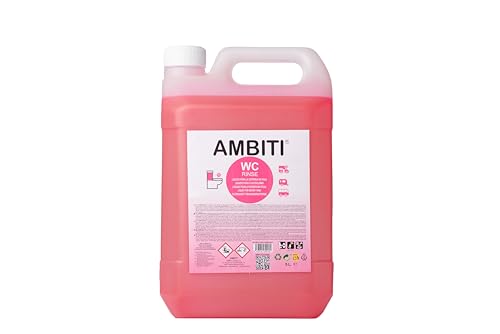
- Place: tanker depot
- Function: Disinfects, removes scale, gives the cup a good smell and creates a slippery layer on the cup (not essential)
- Quantity: Tanker tank capacity
How the chemical toilet works
- Put the water and the proportion of blue liquid into the black water tank
- Pour pink liquid into the cistern (it can be replaced by water, but never bleach or any other chemical that may react with the blue chemical in the tank)
- Open the flap that separates the bowl from the tank, to avoid unpleasant odours
- When you have finished, close the flap again
- Once the tank is full, the indicator will warn us and it will be time to remove the tank
- Empty the tank in a suitable place

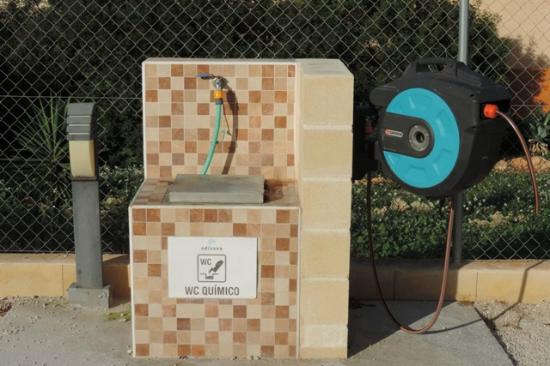

Emptying the tank
The best place to empty the tank is the chemical toilet area, which can be found at campsites, camping grounds and service areas. Please note that for this purpose, a certain timetable for emptying the tank may have to be observed.

It is advisable to empty the tank wearing gloves that protect you from the chemical elements of the blue and pink liquid. It is also worth mentioning that wearing shoes/slippers is always more advisable than wearing flip-flops in case of any problems with splashes.

To take the tank from your vehicle to the emptying area, it is advisable to use a wheeled trolley (many toilets come with them as standard) to make the journey with the toilet on your back easier.

Once emptied, the tank must be filled with water (using the usual hoses found in these areas) and emptied again. Repeat this process until the water comes out clean.
Emergency emptying
In case of failure of the indicator, or in case of not having been attentive (or if the children have flushed the cistern several times), it is time to take bucket and gloves, open the tank door and empty it manually, taking into account all the recommendations we have been reviewing in this article.
